
DIY Painted Basement Ceiling Project

How To Paint An Open Basement Ceiling
This post about my DIY Painted Basement Ceiling Project contains affiliate links, which means that I get a tiny commission from sales that result from this post (at no additional cost to you!)
Guest Written by my Mom! Recently Updated!
About a year ago, Steph and Mike’s realtor (the same terrific lady who sold their former home in four days) posted a home sale listing that happened to have a finished basement with a black painted exposed wood ceiling. I fell in love with that look. Fell hard. It was so cool – so urban/industrial chic and all. A mental note was made that someday, that type of ceiling would need to be a part of my life.
Little did I know it would be happening so soon.

When approached with the idea of doing the total basement makeover, it was clear that the ceiling was going to need some serious attention. My first thought was to simply patch and paint the old drop ceiling and be done with it. Or, get a new drop ceiling. Upon further review, the old ceiling was in too poor of condition to work with and a new ceiling would have run into some significant cost.

In reality, I was probably trying to justify doing the exposed wood paint job that I knew I wanted all along. The kids were all for it. Plus, ripping out everything gave us the opportunity to do some much-needed lighting and wiring upgrades. Without our trusted electrician friend, this would have been impossible to execute.

With the decision made, Stephanie’s dad spent the next few days ripping down the old ceiling. I’ll spare you the details, but you would not believe what-all you find on the topside of basement ceiling tiles!

Painting your basement ceiling can be a challenging task, but with the right tools and techniques, it can be done effectively. Here are the steps you can follow to paint your basement ceiling:
Prepare the space: Remove any furniture, fixtures or items that may get in the way of painting. Cover the floor and any remaining items with drop cloths to protect them from paint splatters.
Clean the ceiling: Use a broom or vacuum to remove any cobwebs, dust, or debris from the ceiling. This will ensure that the paint adheres well to the surface.
Patch any cracks or holes: If there are any cracks or holes in the ceiling, use spackling compound to fill them in. Allow the compound to dry completely before sanding it down until it is smooth.
Prime the ceiling: Apply a coat of primer to the ceiling. This will help the paint adhere better and create a more even finish. Use a paintbrush or roller to apply the primer, starting at the edges and working your way towards the center of the room.
Paint the ceiling: Once the primer has dried, it’s time to paint the ceiling. Use a paintbrush or roller to apply the paint, again starting at the edges and working your way towards the center of the room. Apply a second coat if necessary.
Allow the paint to dry: Allow the paint to dry completely before removing the drop cloths and putting the furniture and fixtures back in place.
Painting a basement ceiling can be a difficult and time-consuming task, so it's important to be patient and take your time to ensure a high-quality finish.
Next question – what color paint to use? We were basically deciding between black or white. After looking at many remodeling websites, I concluded that black looked way cool and would be excellent for a basement that was more of a bar or TV/theatre-room style, or any basement with a high ceiling. But our basement does not have a high ceiling and was going to be more of a general living area.

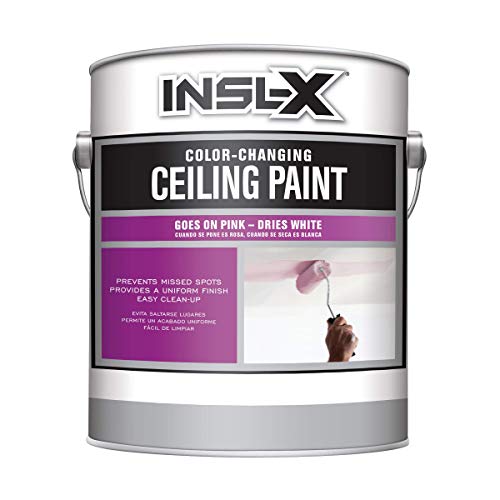
We were looking to brighten things up as much as possible so INSL-X Ceiling Paint was chosen. This paint goes on pink, and turns white when dry. To cover up any imperfections before had, Kilz is our forever go-to.
If ever an opportunity presented itself for using a paint spray gun, this was it! After some fairly extensive research, I went with one of the small-to- midsize DIY airless sprayers available. These can be had for under $100 and I figured the whole family can use it for other projects as well. I even posted questions on a pro painting blog to confirm I was on the right track.
This is after masking the floors and tarping the walls

Fast forward to countless hours masking off the floor, walls, doors, etc. You need to do a lot of careful masking because the overspray will get everywhere. Finally, I was ready to fire up my new toy. Looking spiffy in my home-made hazmat suit, things were going great for about 3.5 minutes. Then, realization set in that I had seriously underestimated the physical strength required for this job.
Here is an analogy – if you can hold a 16-pound bowling ball over your head and sweep it side to side for several hours at a time, you’d be OK here. I’m no slouch, but my strength ran out after about 20 minutes. The option of doing it by hand with a brush was still there but the thought of all the wasted spray-paint prep work was utterly nauseating. A fight-or- flight decision needed to be made pretty quickly. I chose flight; there was no choice other than to accept my total defeat at the hands of the airless sprayer. This was a crushing blow because I rarely back down from a challenge.
High Efficiency Tank Paint Sprayer:

After allowing for five minutes of moping, it was time to move on! Over the next six weeks, one joist and plank at a time, the job got done by hand. It took a lot of paint – like 10 times more than if it was a flat ceiling. The reason for this is the increased amount of surface area, combined with the roughness of the wood and need for multiple coats.
What a chump I was to initially only purchase ONE GALLON of ceiling paint. I was back to the store in no time, buying up the two-gallon buckets and in retrospect should have been buying five-gallon pails. In the interest of full disclosure, probably a full gallon wound up on my painting outfit:
My painting uniform

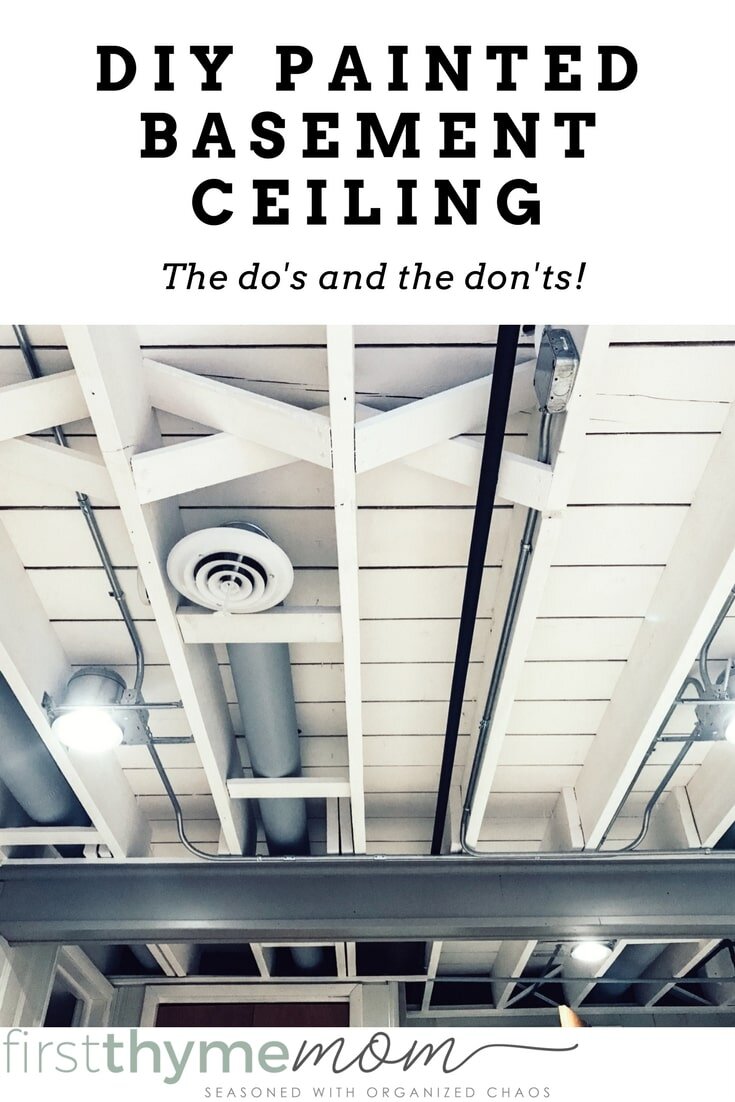
A more fun part of the project was figuring out some accent touches. The exposed heat/air conditioning vent pipes (there were several of them) were painted using a flat grey Rust-Oleum paint and for the gas pipes I used a flat black Rust-Oleum paint. The black and grey, along with the bright new electrical conduit and can lighting, yields some great contrast and makes the whole thing pop:
The finished look!
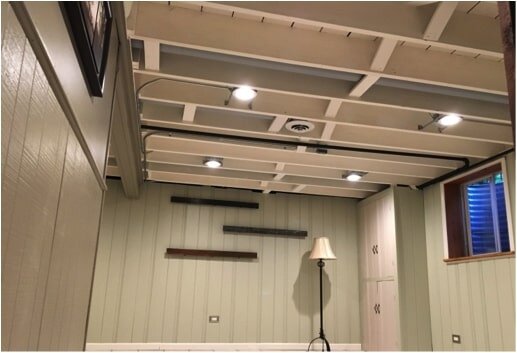
Finished Painted Basement Ceiling With Exposed Duct Work

Finished Painted Basement Ceiling

In spite of a few initial hiccups, this was a fantastic DIY project. Probably my best one ever! The end result exceeded all expectations. Taking out the drop ceiling definitely gives the illusion of more height and the paint job adds a ton of interest and brightness. The only real functional downside is that the drop ceiling did provide a pretty significant noise barrier. With just the exposed wood, from the basement you can pretty much hear everything going on in the living room above it (but oddly, not vice versa). In fact, the kids and I often communicate just by yelling through the floor/ceiling. As in “Hey you left your car in the street” or letting them know the mail arrived. No intercom needed!
What to buy for a DIY Painted Basement Ceiling:

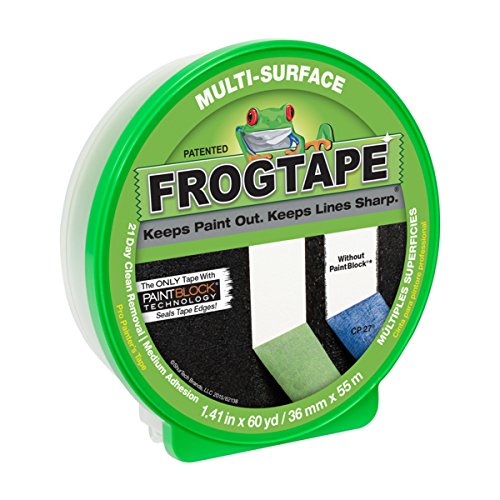
3. Frog Tape - For All Your Taping Needs!
4) Drop Cloths

Frog Tape helps to eliminate paint bleeding.
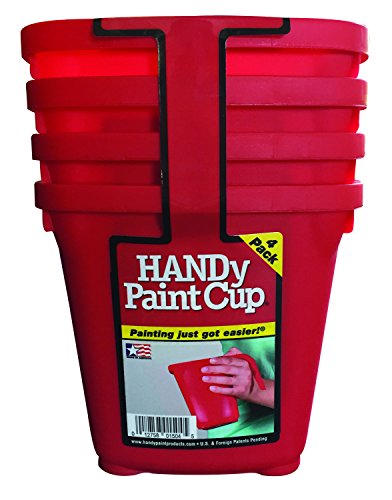
5) Handy Paint Cup Holds 16 oz. of Paint or Stain, Integrated Magnetic Brush Holder
6) Wagner 0580678 Control Pro 130 Power Tank Paint Sprayer, High Efficiency Airless with Low Overspray

7) BUENDIO Paint Sprayer, 700W High Power, 5 Copper Nozzles & 3 Patterns, Easy to Clean, HVLP Spray Gun for Furniture, Cabinets, Fence, Garden Chairs, Walls, DIY Works

8) Paint Sprayer, PHALANX 700W HVLP Spray Gun, Paint Gun with 10FT Air Hose

A note from Stephanie (the basement-dwelling daughter):
We ended up living in my parent’s basement as adults for over 19 months. It was quite the experience as you can expect. We spent two months fixing up the space prior to us moving in. You can read all about that here, in my $1000 basement renovation post. This DIY Exposed Painted Basement Ceiling post has quickly become one of my most popular posts ever read.
After we finished construction on our new home, we moved out of my parent’s house. They listed their home for sale and it sold within one day. During our time living with my parents, my mom and husband spend a lot of time prepping the house for sale. It was by no accident that the house ended up selling within 24 hours. I witnessed hours and hours and hours of prep work that went into upgrading various aspects of the home before it sold.
Their house closed in 23 days. They were not able to move into their new place yet, so my parents came to live with us for seven weeks. What comes around, goes around! We had over 2 years together as adults – and we loved mostly every minute of it. I know my son loved it the most. Having his Grandma and Grandpa around all the time as a young toddler is something that we will never forget. I hope there is a small part of it that he ends up remember as well, even if it is only through photos and videos.


How to paint an exposed ceiling, DIY Basement Ceiling Spray, How to: Spraying exposed basement ceiling, paint an exposed basement ceiling black, painting the basement ceiling black, our painted basement ceiling and why we love it, spraying basement ceiling, how to paint a basement ceiling with exposed joists, painting bare basement ceiling, how to paint a basement ceiling white, how to paint an unfinished basement ceiling, pros and cons of painting basement ceiling, painting basement ceiling by hand, step by step guide for painting unfinished basements, How to Paint an Exposed Ceiling, DIY Basement Renovation, Basement renovation ideas, DIY home improvement, Basement ceiling makeover, Industrial basement design, Urban chic basement, Basement paint colors, Creative ceiling ideas, Interior design inspiration, Painted wood ceiling, Basement transformation, Basement remodeling tips, Home renovation projects, Stylish basement decor, Trendy basement upgrades, Urban loft aesthetics, Contemporary basement design, DIY painting techniques, Basement decorating ideas, Modern industrial style, Basement finishing ideas. Painted basement ceiling ideas, DIY painted basement ceiling project, Basement ceiling painting ideas, Creative basement ceiling projects, Painting basement ceiling tips, DIY basement makeover, Basement renovation ideas, Home improvement projects for basements, Basement ceiling design inspiration, Affordable basement ceiling ideas, Basement ceiling makeover, Painted basement ceiling tutorial, Budget-friendly basement ceiling ideas, DIY basement ceiling makeover, Basement ceiling painting techniques, Unique basement ceiling ideas, Rustic basement ceiling designs, Basement ceiling renovation, Painted basement ceiling inspiration, Transforming basement ceilings, Basement ceiling decoration ideas, Stylish basement ceiling ideas, Creative ways to paint basement ceilings, Painted basement ceiling design, Basement ceiling color ideas, Modern basement ceiling designs, DIY basement ceiling painting tips, Basement ceiling finishing ideas, Low-cost basement ceiling solutions, Painted basement ceiling trends, Basement ceiling decorating tips, Basement ceiling makeover on a budget, Painted basement ceiling aesthetics, Basement ceiling painting trends, Easy DIY basement ceiling projects, Basement ceiling renovation ideas, Basement ceiling color trends, Painted basement ceiling design ideas, Basement ceiling transformation, Painted basement ceiling color schemes, DIY basement ceiling makeover ideas, Basement ceiling finishing options, Painted basement ceiling effects, DIY basement ceiling design, Creative basement ceiling painting ideas, Basement ceiling makeover inspiration, Basement ceiling painting aesthetics, Painted basement ceiling solutions, DIY basement ceiling renovation, Painted basement ceiling trends 2022, Basement ceiling painting techniques tutorial