
Upcycling A Rusty Wagon Into a Wagon Planter

DIY Wagon Garden
Post Written By My Mom!
With the arrival of warmer weather here in the Midwest, my efforts to downsize have expanded to include our backyard. During a recent yard clean-up, I came across an old rusty wagon behind our shed. This wagon has been used on occasion to move flagstones and other yard artifacts, and I was preparing to simply wheel it out to the curb where our neighborhood metal scrappers would scoop it up with their typical lightning speed. Oddly, nobody in my household could even remember where this wagon came from. So clearly, it did not hold any sentimental value!
As I was deciding the wagon’s fate, images of wagon-planters started popping into my head. I was sure I’d seen old wheelbarrows, wagons, carts, etc., re-purposed into creative yard planters. A quick Pinterest scan confirmed my vision, and right then I decided to upcycle this rusty old relic into a super-cute flower garden planter.
Now, I hate to be one of those “back in the day” types, but a lot of people my age have been upcycling stuff long before it was even a thing. I have an amazing sister-in-law who has been turning trash to treasure for decades. SIL Debbie wholeheartedly endorsed my project so I knew I was on the right track.
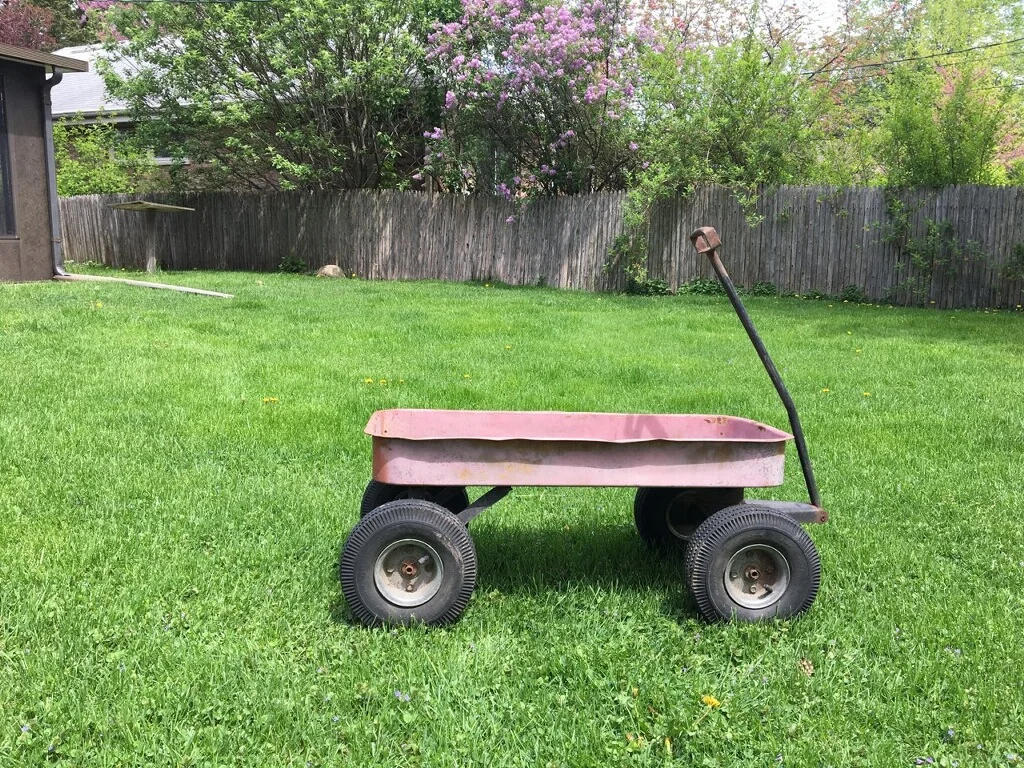
You don’t need much for this venture. Start with one old rusty wagon:
Add one toddler grandchild with garden tools:

Don’t skip this step – you will want to drill some holes in the wagon for drainage. These were just randomly placed near the corners:

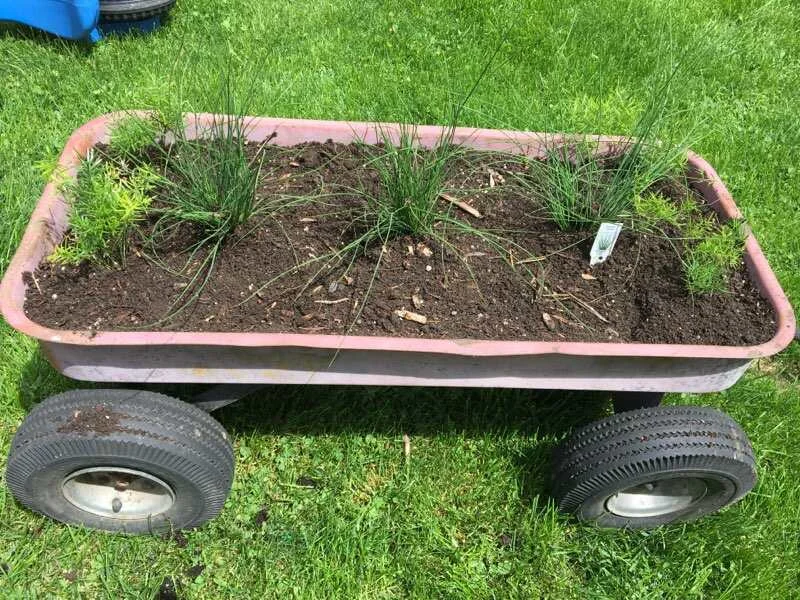
Add dirt and level it off. This was my grandson’s favorite part:

Now for the plants. In deciding what to plant, I carefully considered the exact level of sun exposure, expected rainfall, and soil conditions….. wait, who am I kidding? I bought what was on sale at the local hardware store, things that I knew (or hoped) had a better-than-average chance of survival. I settled on petunias (instant color), asparagus fern, some grassy-looking deals, and a few blue lobelia:

My grandson and I started with the grasses planted down the middle.
In the four corners, we placed asparagus fern:
The petunias and lobelia filled in the remaining spots:
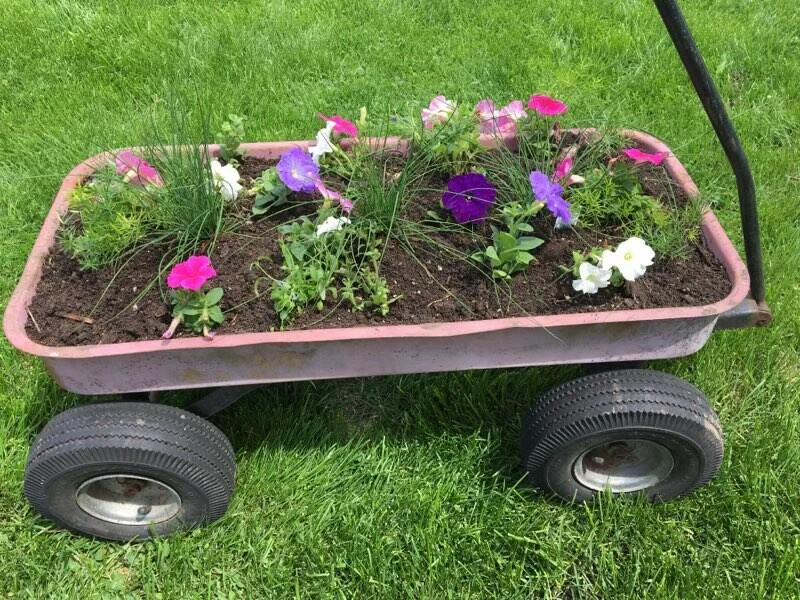
Here is the finished project after adding some mulch and letting the plants get established a bit. Totally nailed it!

This type of planter can range from simple to elaborate, as you wish. Your choice of plants can give it a rustic feel or you can keep to a specific color palette to coordinate with other landscape elements. An herb garden would be really cute as well. One thing to watch out for is the fact that since the container (the wagon) is shallow, this will dry out much faster than a traditional planter. The mulch will help, but you may need to ensure it gets water nearly every day. Remember those holes I told you to drill? They will provide needed drainage so the dirt does not become water-logged. Without them, it will be very hard to maintain the right moisture level.
This project was fun, easy to execute, and low-cost. The rusty wagon, once hidden in shame behind the shed, is now a featured item in my yard. Making something nice out of an item that was headed for the trash is very satisfying. And if you are lucky enough to have a toddler to help you out, it’s even better!
